Automating development with CI/CD using Github Actions
What is GitHub Actions?
GitHub is one of the leading remote version control platforms alongside Gitlab and BitBucket. Yet it has one of the outstanding features that will help you in all phases of software development; development, testing, and production. Though we can CI/CD workflow with other platforms, reusable Actions make GitHub different than others - we can run automate some flows in our open source projects ( isn't it cool to welcome new users?), execute small portions of your code, build a container, push an image, send slack notifications, run tests, deploy your services and much more than you can imagine on any desired events - push, issue creation, new release, and etc. By the way, as GitHub stands with open source communities, you can share your or use others' actions over the marketplace

How does it work?
Simply, when we declare our actions, we also specify where they should run. Linux, macOS, Windows, ARM, and containers are the available options that can be utilized for your software requirements. When an event in action is triggered, the action declared in your yml file will be used to execute configuration in a self-hosted container with the specified OS type and version. After execution is completed whether with success or failure this container is killed automatically.
What features does it offer?
Some of the most prominent features are listed on the product page of GitHub Actions below:
- Self-hosted containers - declared actions are run in self-hosted containers by GitHub, so you don't need to configure any server or infrastructure. All will be handled by GitHub itself.
- Matrix builds - Save time with matrix workflows that simultaneously test across multiple operating systems and versions of your runtime.
- Any language - GitHub Actions supports Node.js, Python, Java, Ruby, PHP, Go, Rust, .NET, and more. Build, test, and deploy applications in your language of choice.
- Live logs - See your workflow run in real-time with color and emoji. It’s one click to copy a link that highlights a specific line number to share a CI/CD failure.
- Built-in secret store - Automate your software development practices with workflow files embracing the Git flow by codifying it in your repository.
- Multi-container testing - Test your web service and its DB in your workflow by simply adding some docker-compose to your workflow file.
How to create an action?
GitHub Actions are pure YAML configuration files in which we declare all our configurations that need to be run. There are 2 ways of configuring your GitHub actions -
1. GitHub repository Actions tab
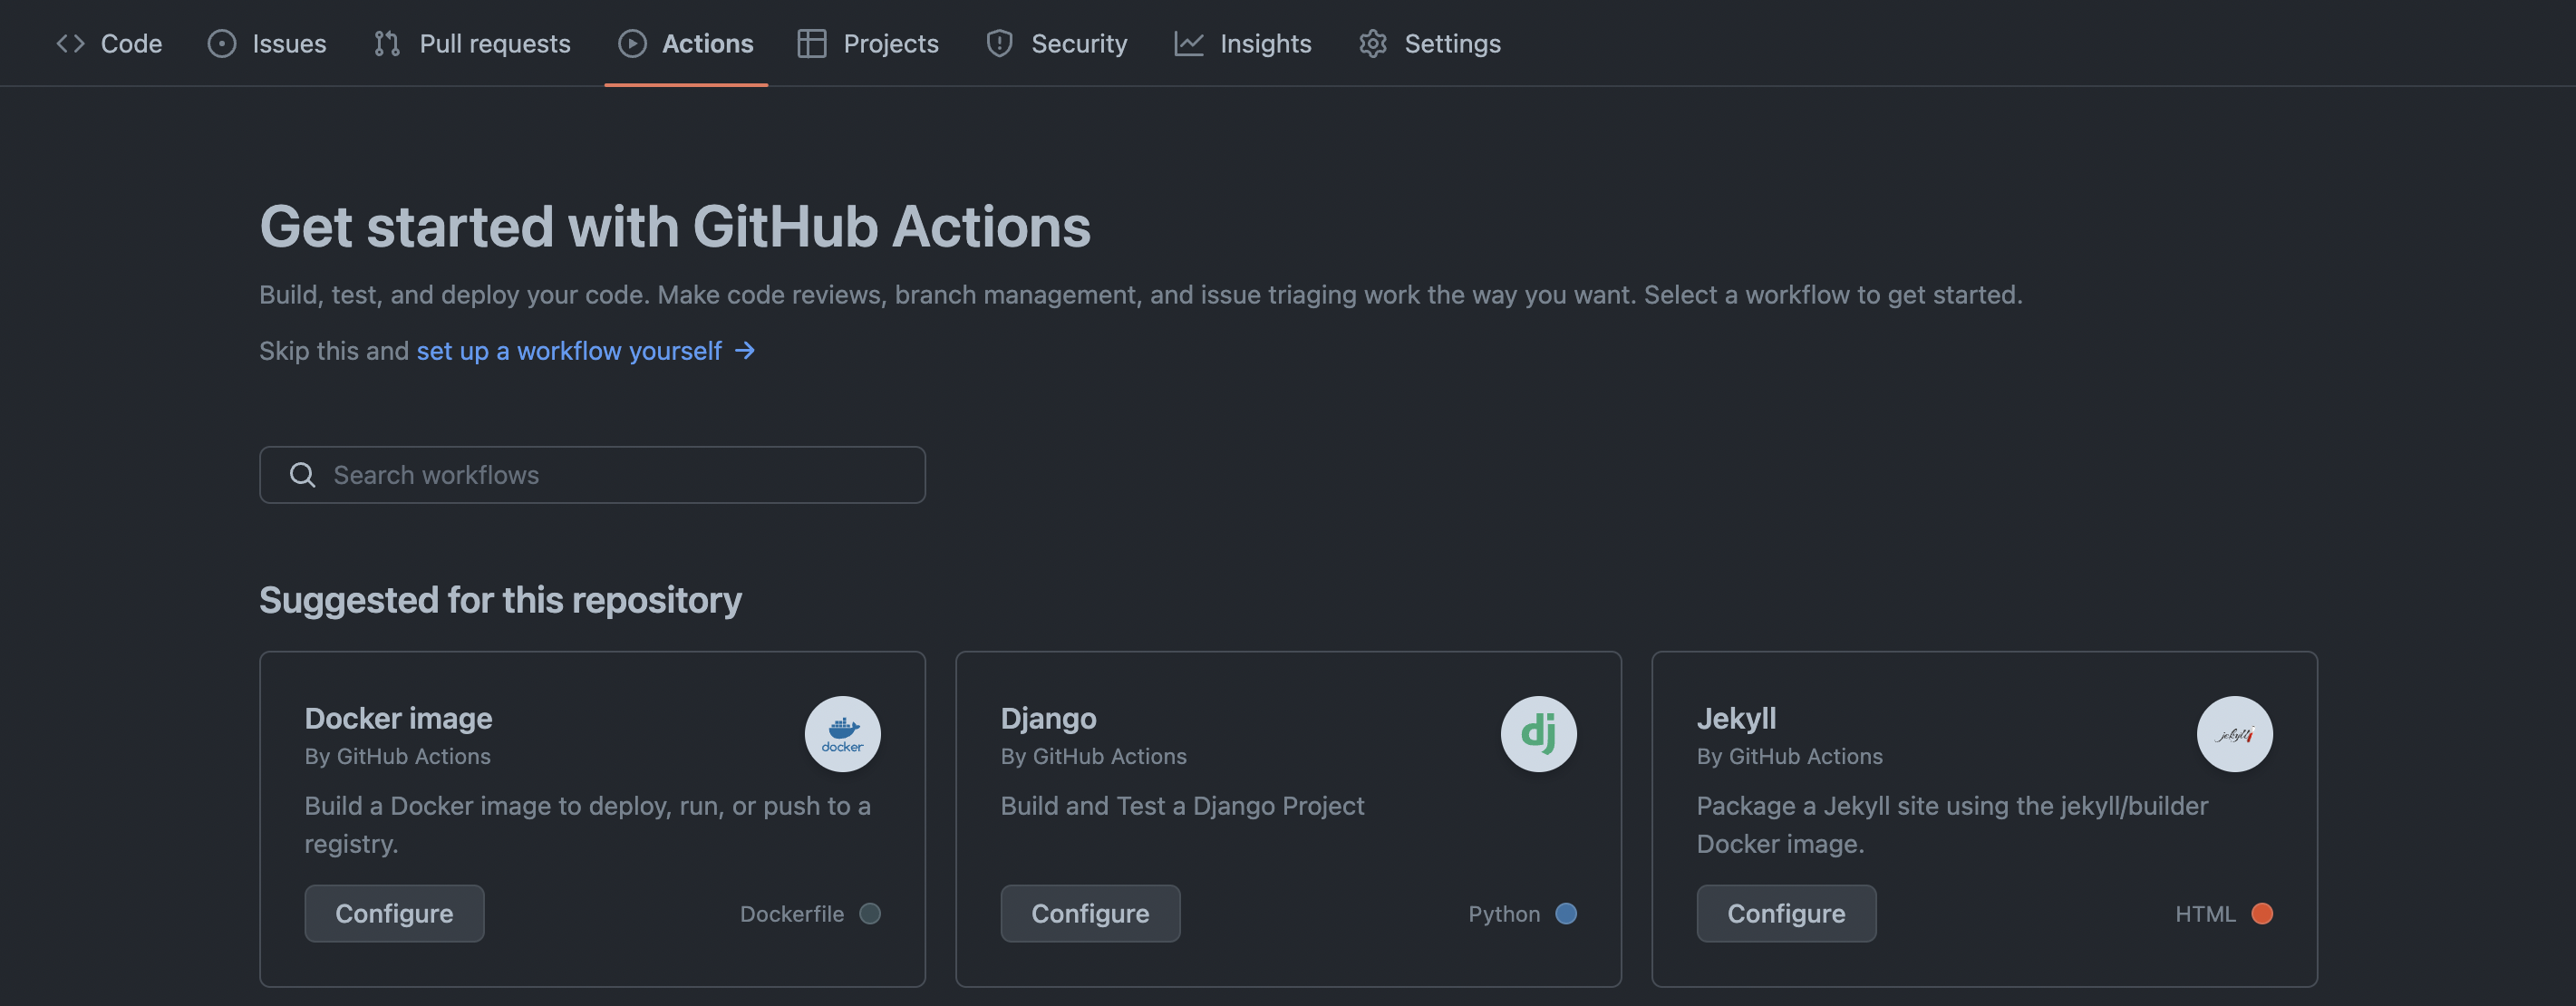
From here you can configure one from the public actions marketplace or set one manually
2. Manually creating a YAML configuration file
We can simply create our action configuration files in our repo with the help of the workflow template GitHub provides us.
# This is a basic workflow to help you get started with Actions

name: CI

# Controls when the workflow will run
on:
  # Triggers the workflow on push or pull request events but only for the main branch
  push:
    branches: [main]
  pull_request:
    branches: [main]

  # Allows you to run this workflow manually from the Actions tab
  workflow_dispatch:

# A workflow run is made up of one or more jobs that can run sequentially or in parallel
jobs:
  # This workflow contains a single job called "build"
  build:
    # The type of runner that the job will run on
    runs-on: ubuntu-latest

    # Steps represent a sequence of tasks that will be executed as part of the job
    steps:
      # Checks-out your repository under $GITHUB_WORKSPACE, so your job can access it
      - uses: actions/checkout@v3

      # Runs a single command using the runners shell
      - name: Run a one-line script
        run: echo Hello, world!

      # Runs a set of commands using the runners shell
      - name: Run a multi-line script
        run: |
          echo Add other actions to build,
          echo test, and deploy your project.
An the end, with both approaches, we get the exact same result. If you ask, there is no need to leave your IDE to create your actions unless you intend to use publicly shared actions.
All workflow files need to be placed in the
{your_repo_name}/.github/workflows/path. Examplesample-repo/.github/workflows/build.yml